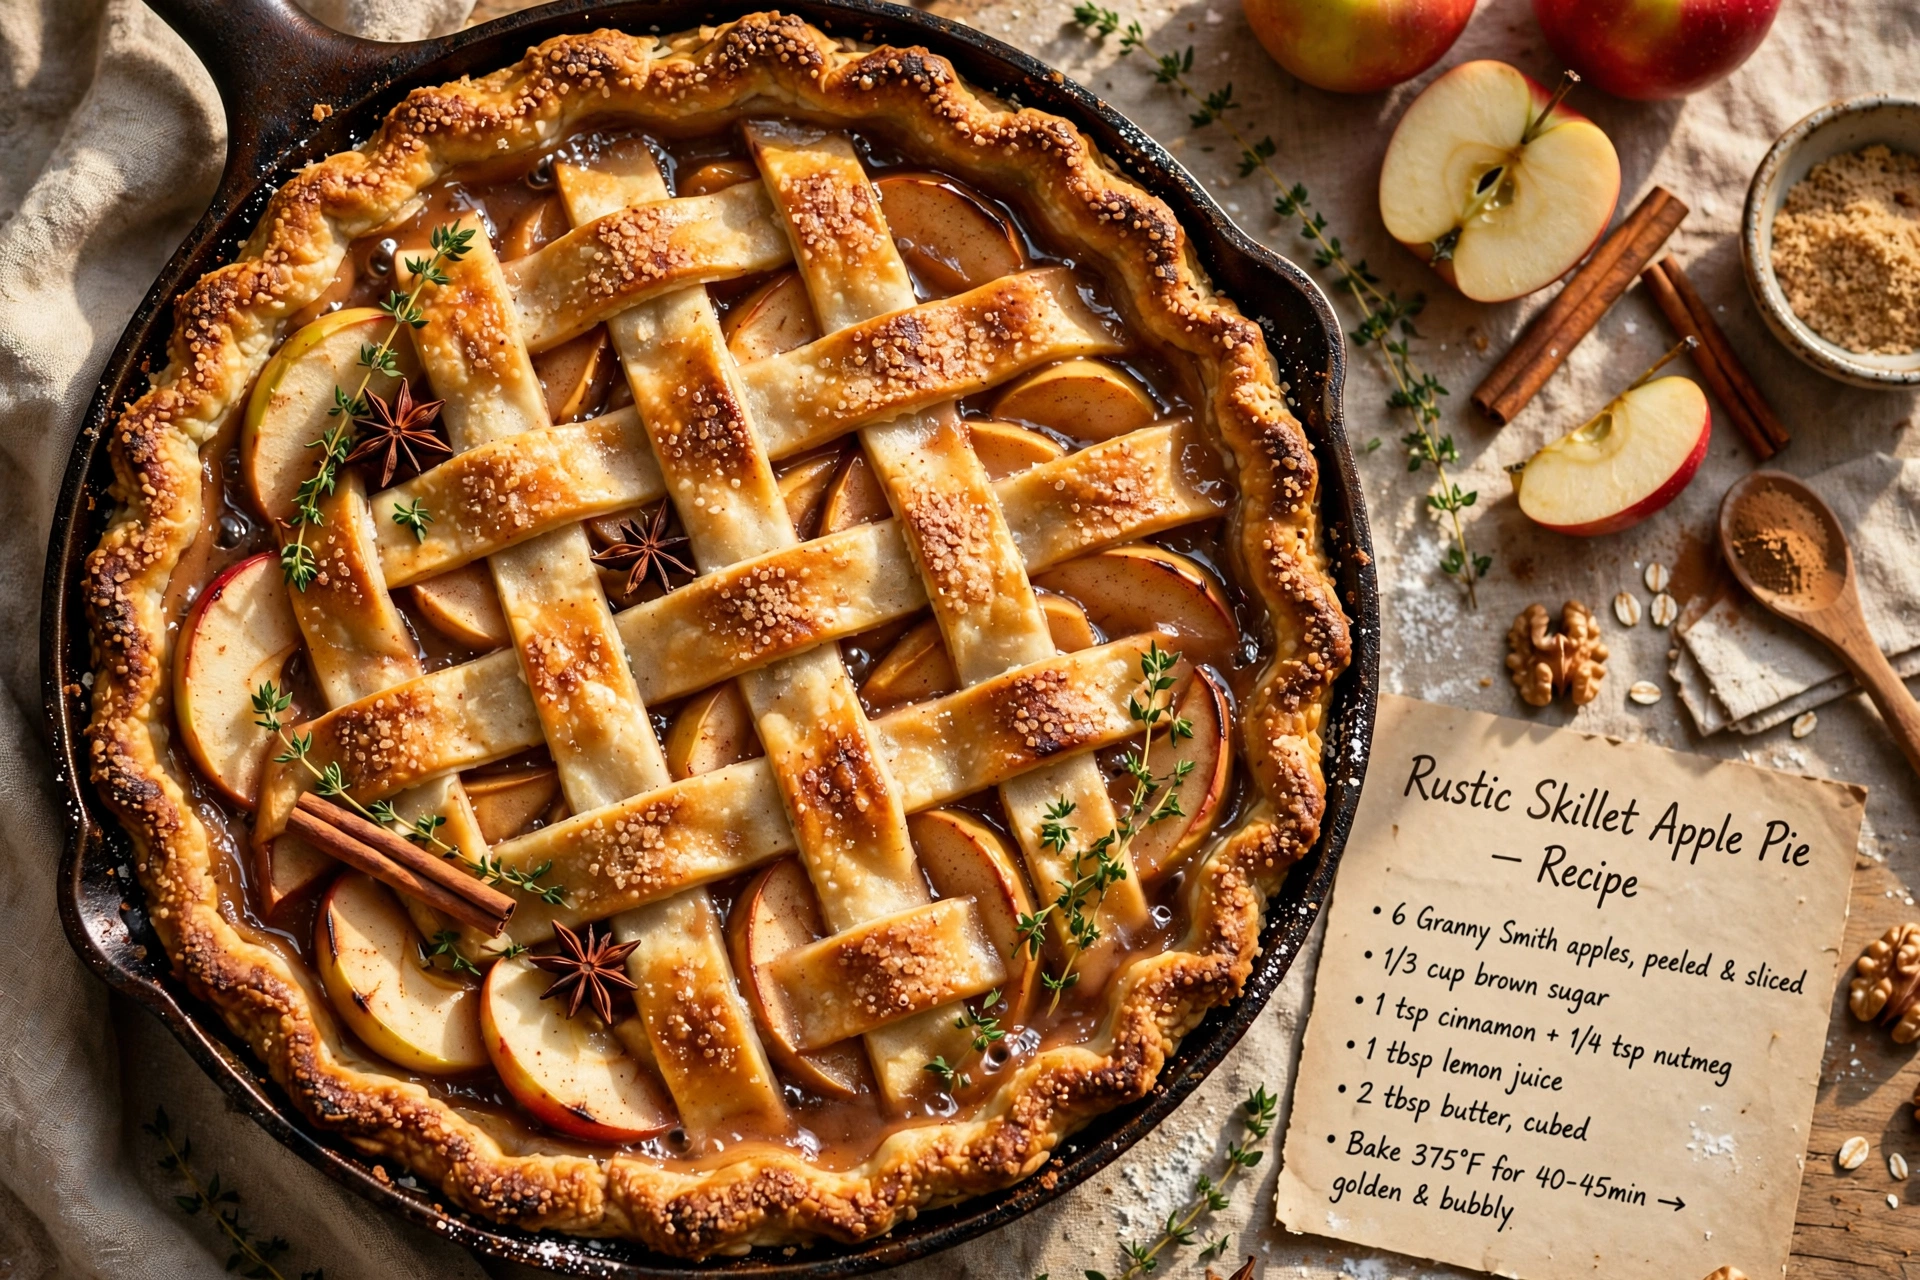
Rustic Skillet Apple Pie
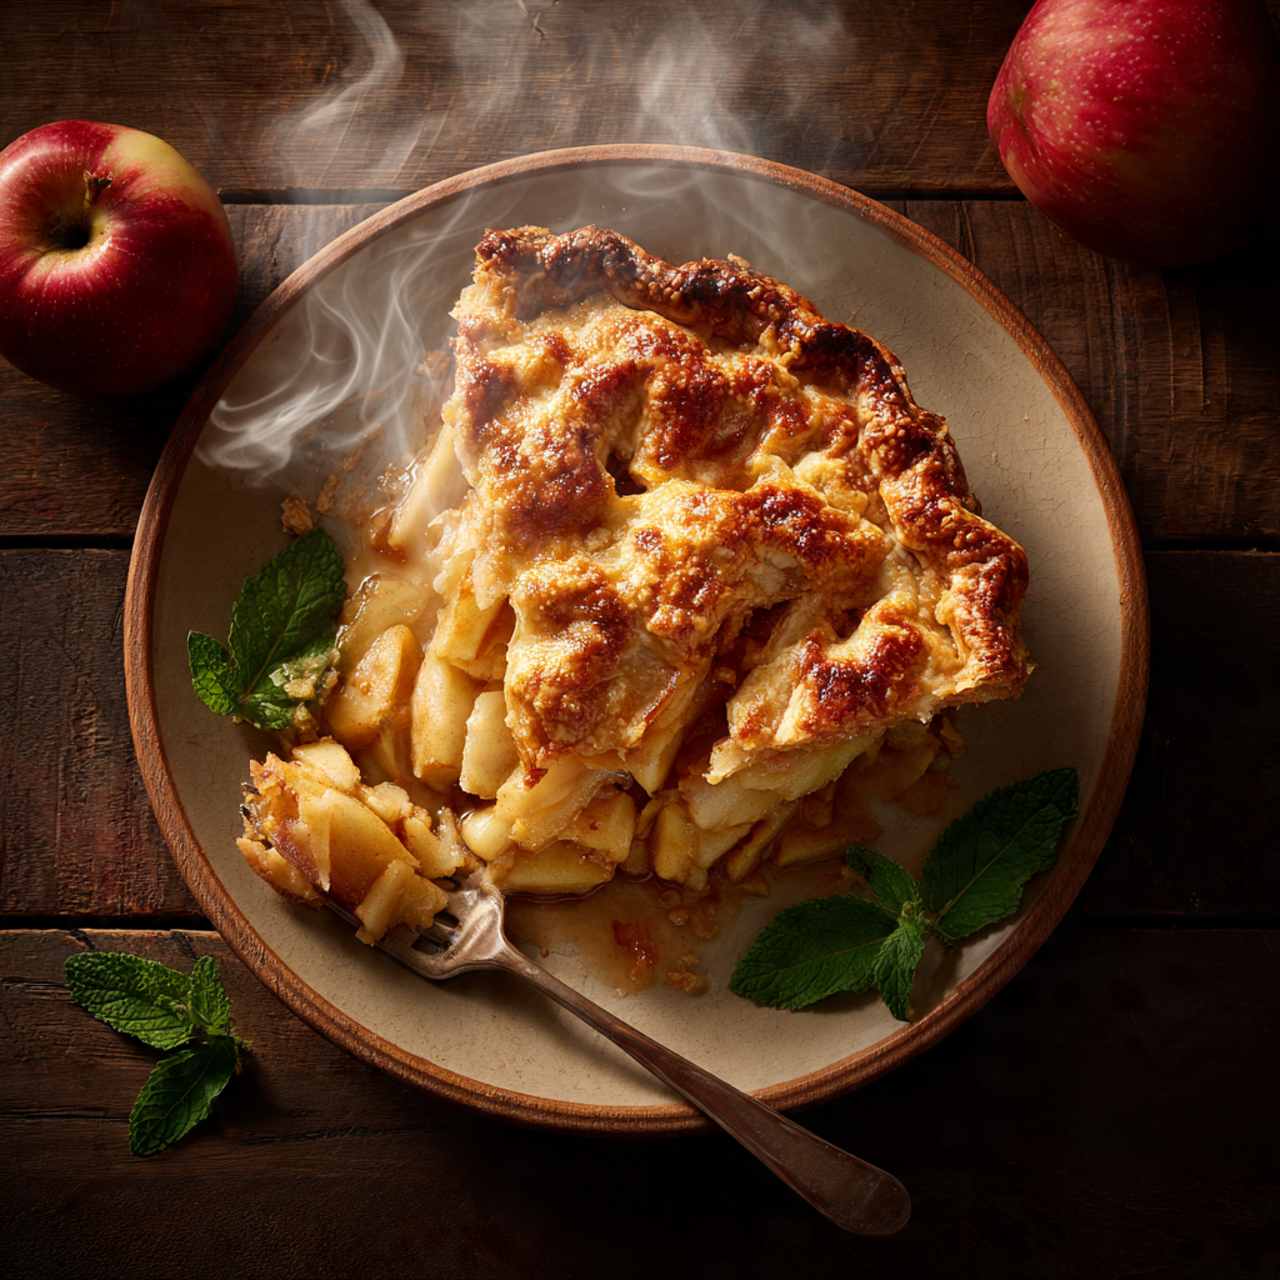
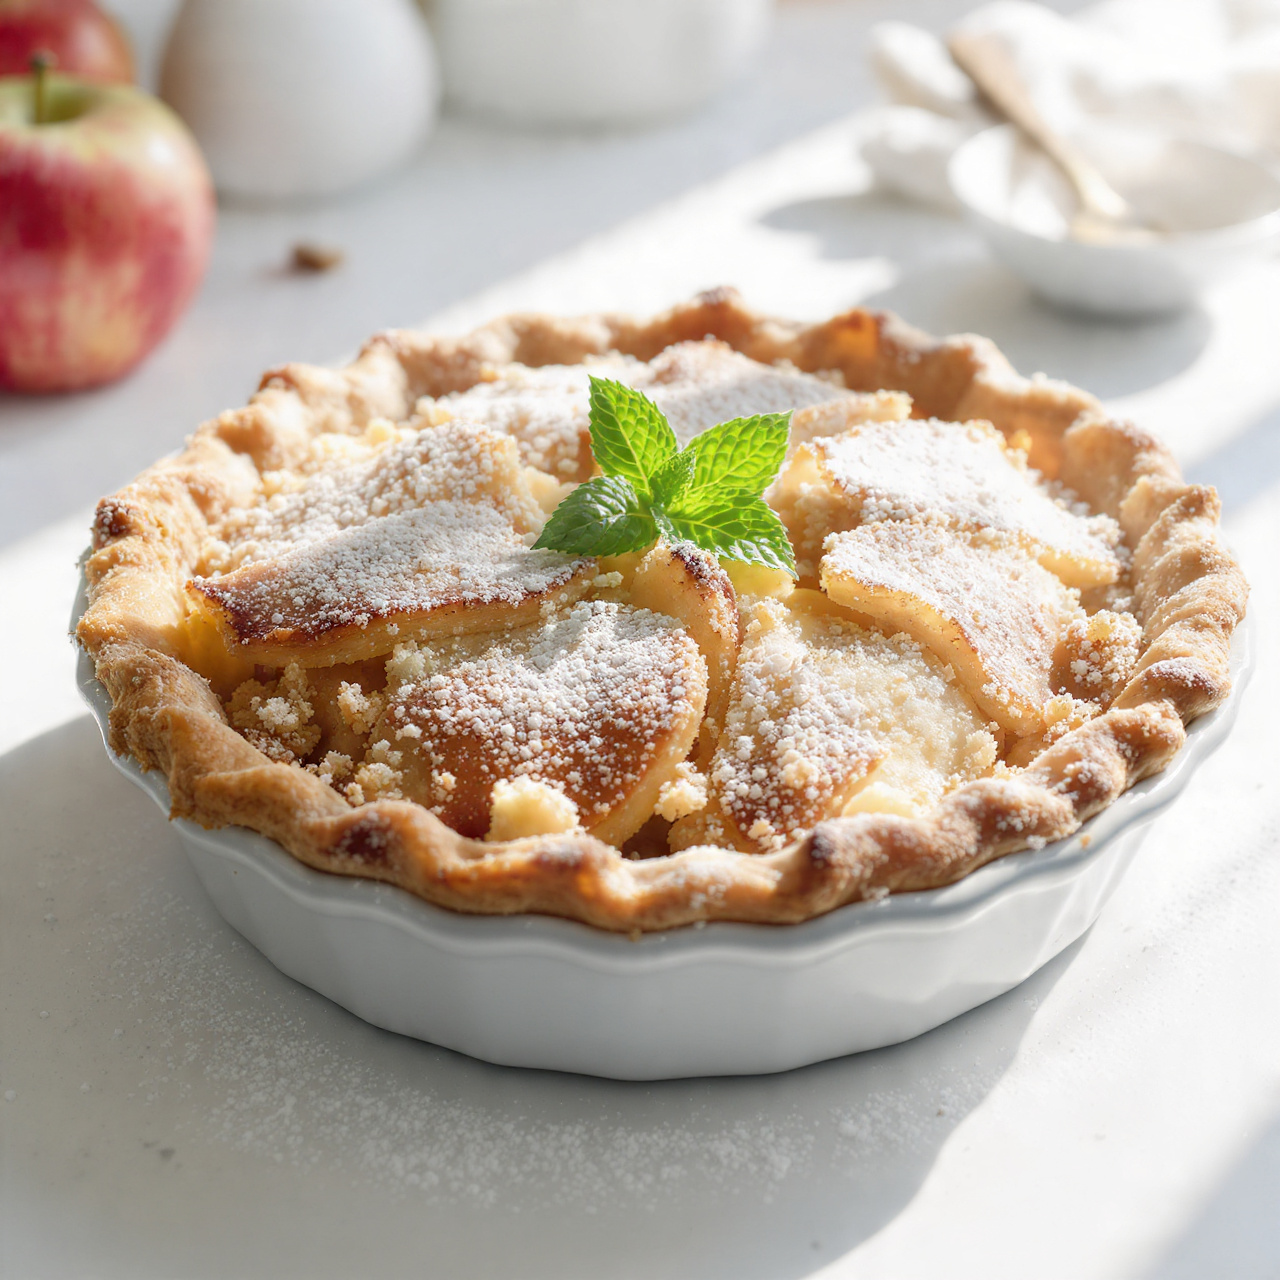
This rustic skillet apple pie bakes in a cast iron pan for a golden, buttery crust and a bubbling cinnamon apple filling, the ultimate cozy dessert with old-fashioned charm.

A Cozy Classic Made Even Better
There is something irresistible about a rustic skillet apple pie. It skips the fuss of a perfectly fluted pie plate and leans into golden, uneven edges, a deeply caramelized bottom crust, and a filling that bubbles right up to the rim. If you have ever searched for a stove top apple pie or an apple pie skillet recipe that actually delivers on flavor and texture, this is the one to bookmark.
Baking in cast iron is the secret here. The heavy pan holds heat evenly and gives the bottom crust a deep, almost caramelized crunch that a regular pie dish just cannot replicate. Think of it as the love child of a Pioneer Woman skillet apple pie and your grandmother's Sunday dessert, updated with a few smart techniques.
Before we get cooking, the right tools and ingredients make a real difference here. A good cast iron skillet is the backbone of this recipe, and a sturdy pastry cutter makes quick work of a flaky crust. If you love rustic pie recipes, investing in quality apple pie spice is also worth it, since it saves you from measuring out four different jars every time.
Why Cast Iron Changes Everything
A cast iron skillet does two things a standard pie pan cannot. First, it conducts heat incredibly evenly, so the bottom crust bakes through instead of turning soggy under all that juicy apple filling. Second, it holds onto heat after baking, which means your pie stays warm at the table far longer, and any spillover filling caramelizes right onto the pan into little candy-like bits.
Chef's Tip: Don't skip swirling melted butter around the skillet before adding the bottom crust. That thin buttery layer is what gives you those irresistible crispy, golden edges.
This method is also wonderfully forgiving. Unlike a traditional fluted pie, a rustic apple pie doesn't demand perfect crimping or symmetry. A few rustic cracks and uneven edges only add to the charm.
Choosing and Prepping Your Apples
Not all apples behave the same way in the oven. For the best texture and flavor balance, use a mix of tart and sweet varieties.
- Granny Smith apples hold their shape and bring welcome tartness
- Honeycrisp apples add natural sweetness and a juicy bite
- Avoid overly soft apples like Red Delicious, which can turn mushy
Tossing the apples with lemon juice does double duty. It keeps them from browning while you work, and it brightens the overall flavor so the filling doesn't taste flat or overly sweet.
The cornstarch is essential too. It thickens the natural apple juices as they bubble in the oven, so you get a luscious, jammy filling instead of a watery mess when you slice into it.
Building the Perfect Crust
A flaky, buttery crust is non negotiable for a pie this good. Keep your butter cold, work quickly, and don't overwork the dough. Small visible flecks of butter in the raw dough are exactly what you want, since they melt in the oven and create steam pockets that make the crust flaky.
Whether you go with a full top crust, a lattice, or even a loosely draped rustic free form top, the technique stays the same. Chill your dough, roll it on a lightly floured surface, and work confidently but gently.
Ready to make it? Here is the full step-by-step recipe:
Rustic Skillet Apple Pie
This rustic skillet apple pie bakes in a cast iron pan for a golden, buttery crust and a bubbling cinnamon apple filling, the ultimate cozy dessert with old-fashioned charm.
Ingredients
- 2 1/2 cups all-purpose flour, plus extra for rolling
- 1 tbsp granulated sugar, for the crust
- 1 tsp salt, divided
- 1 cup unsalted butter, cold, cubed, divided between crust and filling
- 1/2 cup ice water, plus more as needed
- 3 1/2 lb apples, peeled, cored, and sliced, a mix of Granny Smith and Honeycrisp
- 3/4 cup brown sugar, packed
- 2 tsp apple pie spice, or a mix of cinnamon, nutmeg, and allspice
- 1 tbsp lemon juice, freshly squeezed
- 2 tbsp cornstarch, to thicken the filling
- 1 large egg, beaten, for egg wash
- 1 tbsp turbinado sugar, for sprinkling on top
Instruction
In a large bowl, whisk together the flour, granulated sugar, and half the salt. Cut in three quarters of the cold butter with a pastry cutter or your fingers until the mixture resembles coarse crumbs.
Drizzle in the ice water a tablespoon at a time, tossing gently until the dough just comes together. Divide into two discs, wrap in plastic, and chill for at least 1 hour.
Preheat the oven to 400 degrees F (200 degrees C).
In a large bowl, toss the sliced apples with brown sugar, apple pie spice, lemon juice, cornstarch, and the remaining salt until evenly coated.
Melt the remaining butter in a 10 inch cast iron skillet over medium heat. Swirl to coat the bottom and sides of the pan, then remove from heat.
Roll out one dough disc on a floured surface into a circle large enough to line the bottom and sides of the skillet. Press it gently into the pan.
Pour the apple filling into the skillet, mounding it slightly in the center.
Roll out the second dough disc and lay it over the filling, or cut it into strips for a lattice top. Trim and crimp the edges to seal.
Brush the top crust with beaten egg and sprinkle generously with turbinado sugar. Cut a few slits in the top to let steam escape if using a full crust.
Place the skillet on a baking sheet to catch any drips and bake for 45 to 50 minutes, until the crust is deep golden brown and the filling is bubbling.
Let the pie cool in the skillet for at least 20 minutes before slicing to allow the filling to set.
Equipment
- 10 inch cast iron skillet
- Rolling pin
- Pastry cutter
- Large mixing bowls
- Baking sheet
- Pastry brush
Notes
Serving, Storing, and Making It Your Own
This pie is meant to be served warm, straight from the skillet. A scoop of vanilla ice cream melting into the still bubbling filling is the classic move, and honestly, hard to beat.
If you want to put your own spin on things, consider these easy variations:
- Swap in pears for half the apples for a softer, more floral filling
- Add a handful of dried cranberries or chopped pecans for texture
- Drizzle with a simple caramel sauce right before serving for extra decadence
Chef's Tip: If your crust edges are browning too quickly, loosely tent the skillet with foil for the last 15 minutes of baking.
Store any leftovers covered at room temperature for up to two days, or in the fridge for up to five. A quick reheat in the oven brings the crust right back to life, making this rustic apple pie just as satisfying the second time around.