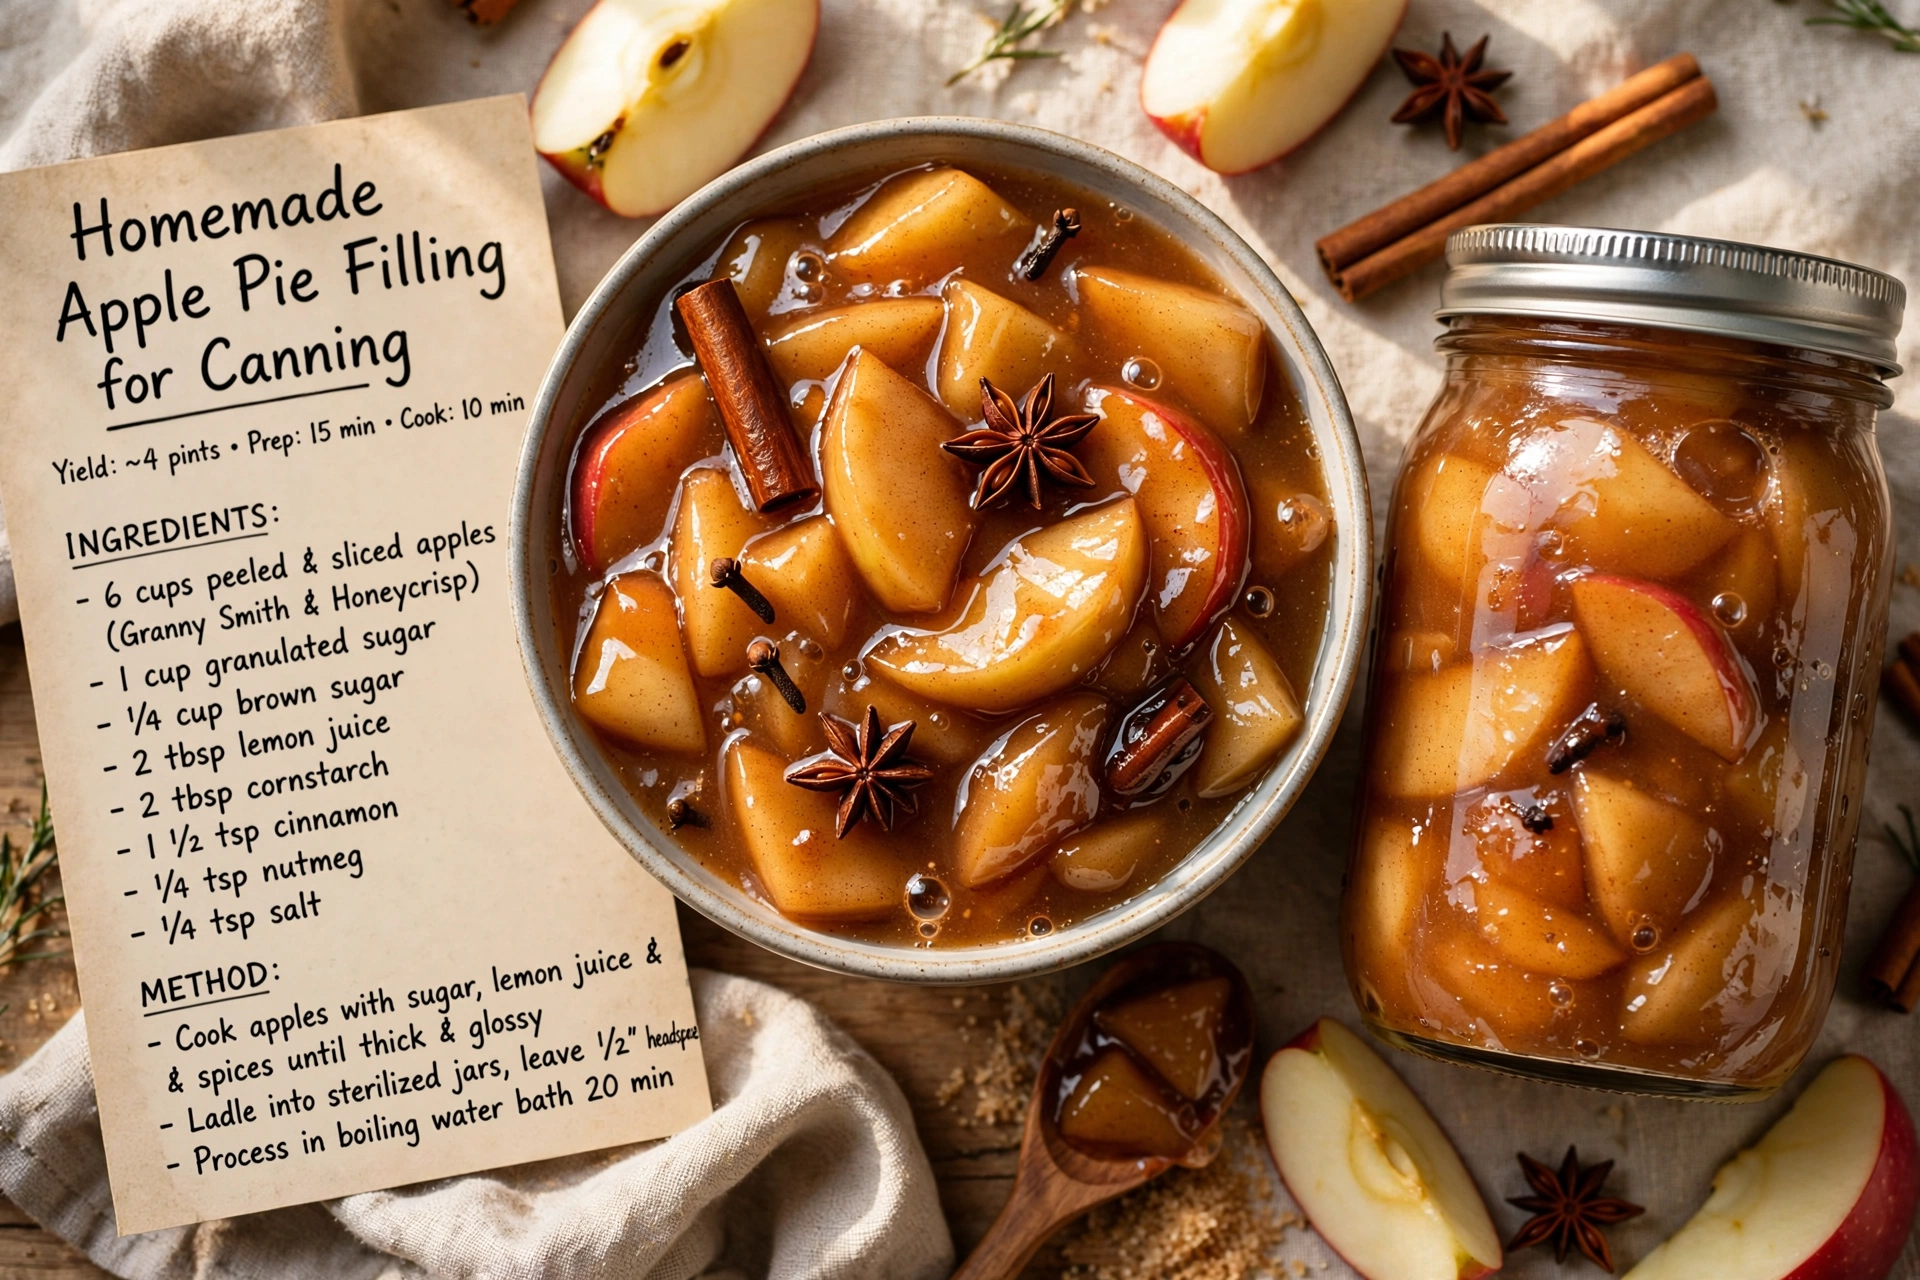
Homemade Apple Pie Filling for Canning
Learn how to make and can apple pie filling at home with this easy, shelf-stable recipe, so you can enjoy fresh-tasting apple pie any time of year.

Why You Need Apple Pie Filling To Can In Your Pantry
There is something deeply satisfying about opening your pantry in the middle of winter and pulling out a jar of homemade apple pie filling you canned yourself back in the fall. This recipe walks you through exactly how to make and can apple pie filling so you always have a shortcut to a warm, bubbling apple pie, no matter the season. It is one of those classic canning projects that rewards a little effort now with months of convenience later.
If you have ever wondered how to can apples for pie filling the right way, the good news is that it is simpler than it looks. With the right ingredients and a little patience, you will end up with rows of glossy, cinnamon-spiced jars that taste like fall in a jar.
Before we get cooking, the right tools and ingredients make a real difference here. A reliable water bath canner, a jar lifter, and true Clear Jel (not regular cornstarch) are what separate a shelf-stable, safe filling from a science experiment gone wrong. These are the products that genuinely help this recipe shine:
Choosing the Best Apples for Canning
Not all apples hold up the same way once they are baked into a pie later, so choosing the right variety matters more than you might think.
- Granny Smith: firm, tart, and holds its shape beautifully through processing.
- Honeycrisp: a great balance of sweet and tart with a satisfying bite.
- Braeburn or Jonagold: sturdy options that add nice depth of flavor.
Avoid soft, mealy apples like Red Delicious, since they tend to break down into mush during the canning process.
Chef's Tip: Slice your apples into uniform half-inch wedges. Consistent sizing means even cooking and a filling that looks as good as it tastes when you finally open that jar.
The Secret to Safe, Thick Filling: Clear Jel
If you search around for canning apple pie filling no Clear Jel recipes, you will notice that most trusted sources still come back to the same advice: use Clear Jel. Regular cornstarch and flour are not approved thickeners for canned goods because they can break down unpredictably during the water bath process, which affects both texture and safety. Clear Jel is a modified food starch specifically tested for canning, and it thickens beautifully without the risk.
Blanching your apple slices briefly before adding them to the thickened syrup is another small step that makes a big difference. It helps prevent the apples from floating to the top of the jar, so every spoonful you scoop out later has that perfect apple-to-filling ratio.
Step-by-Step: How To Make Apple Pie Filling To Can
Once your apples are peeled, sliced, and blanched, the process moves quickly. You will whisk your dry ingredients together, bring your syrup to a boil until glossy and thick, then fold in the apples before filling your jars. Ready to make it? Here is the full step-by-step recipe:
Homemade Apple Pie Filling for Canning
Learn how to make and can apple pie filling at home with this easy, shelf-stable recipe, so you can enjoy fresh-tasting apple pie any time of year.
Ingredients
- 7 1/2 lb apples, peeled, cored, and sliced, such as Granny Smith or Honeycrisp
- 5 1/2 cups granulated sugar
- 1 1/2 cups clear jel, a modified cornstarch safe for canning; do not substitute regular cornstarch
- 2 tsp ground cinnamon
- 1/4 tsp nutmeg, freshly grated, optional
- 5 cups water
- 2 1/2 cups apple juice, unsweetened
- 3/4 cup bottled lemon juice, bottled, not fresh-squeezed, for consistent acidity
Instruction
Wash 7 quart-size or 9 pint-size canning jars, lids, and bands in hot soapy water, then keep jars hot in a simmering water bath canner until ready to fill.
Peel, core, and slice the apples into even, roughly half-inch thick wedges. Treat with a bit of lemon water if not working quickly to prevent browning.
In a large stockpot, blanch the apple slices in batches, about 1 minute in boiling water, then drain and set aside; this helps prevent floating fruit in the jars.
In a separate large pot, whisk together the sugar, Clear Jel, cinnamon, and nutmeg until no lumps remain.
Stir in the water and apple juice, whisking constantly, and bring to a boil over medium-high heat, stirring often until the mixture thickens and turns glossy, about 1 to 2 minutes.
Remove from heat and stir in the bottled lemon juice.
Fold the drained, blanched apples into the hot filling until evenly coated.
Ladle the hot apple pie filling into the warm, sterilized jars, leaving 1 inch of headspace.
Run a bubble remover or non-metallic spatula around the inside of each jar to release trapped air, then wipe the rims clean with a damp cloth.
Center the lids on the jars and screw on the bands until fingertip tight.
Process the jars in a boiling water bath canner, fully submerged with at least 1 inch of water above the lids, for 25 minutes for quarts or 20 minutes for pints, adjusting for altitude if needed.
Turn off the heat, remove the canner lid, and let the jars sit in the water for 5 minutes before removing them to a towel-lined counter.
Let jars cool undisturbed for 12 to 24 hours, then check that all lids have sealed before labeling and storing.
Equipment
- Water bath canner
- Canning jars, lids, and bands
- Jar lifter
- Large stockpot
- Ladle
- Bubble remover or spatula
- Kitchen scale (optional)
Notes
Tips for Perfectly Sealed Jars
A proper seal is what keeps your canned apple pie filling recipes for canning safe on the shelf for months. A few small habits go a long way:
- Always start with jars that are still warm from the dishwasher or a hot water bath, so they do not crack when filled with hot syrup.
- Leave exactly 1 inch of headspace, no more and no less, to ensure a proper vacuum seal forms.
- Never skip the bubble removal step. Trapped air pockets can prevent lids from sealing correctly.
Chef's Tip: After the jars have cooled for 24 hours, press the center of each lid. If it does not flex up or down, you have a good seal. Any unsealed jars should be refrigerated and used within a couple of weeks instead of stored on the shelf.
How to Use Your Canned Apple Pie Filling
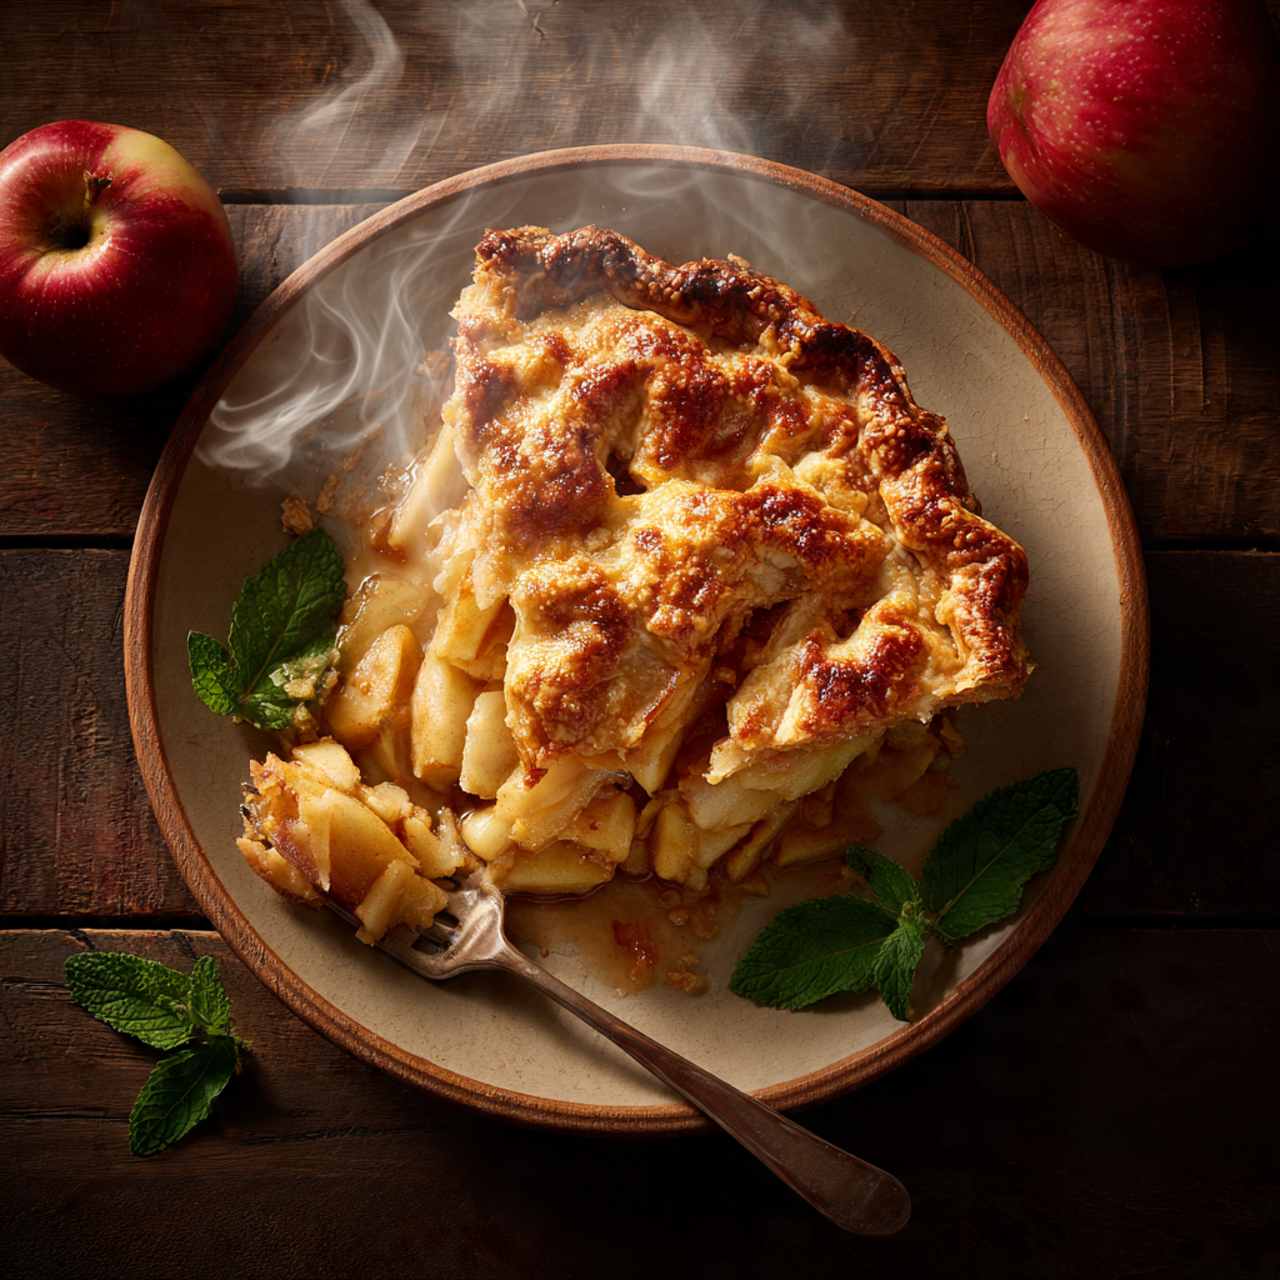
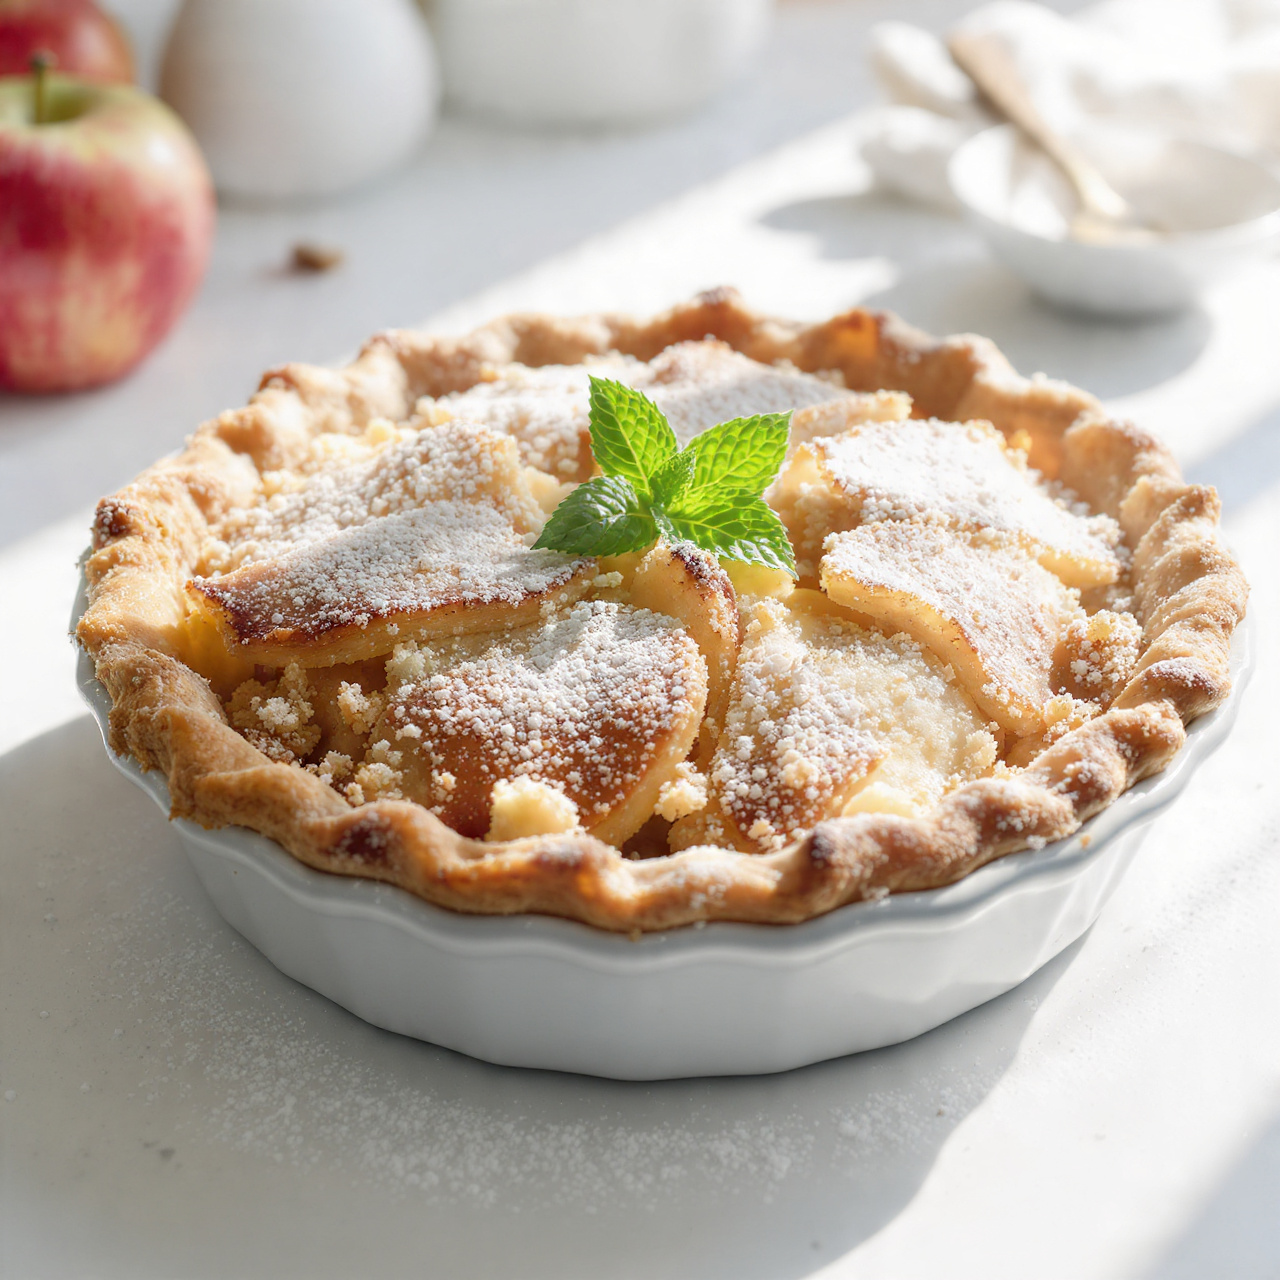
Once your pantry is stocked, the possibilities go well beyond pie. Spoon it over vanilla ice cream, layer it into a quick crisp with an oat topping, swirl it into pancake batter, or of course, pour it straight into a pie crust for a classic homemade apple pie with almost no prep work involved.
This recipe scales easily too. Double or triple the batch if you have a big apple haul from an orchard trip, and you will be set with dessert shortcuts well into next year.